Prism Coupler – Metricon 2010
Details
Description:
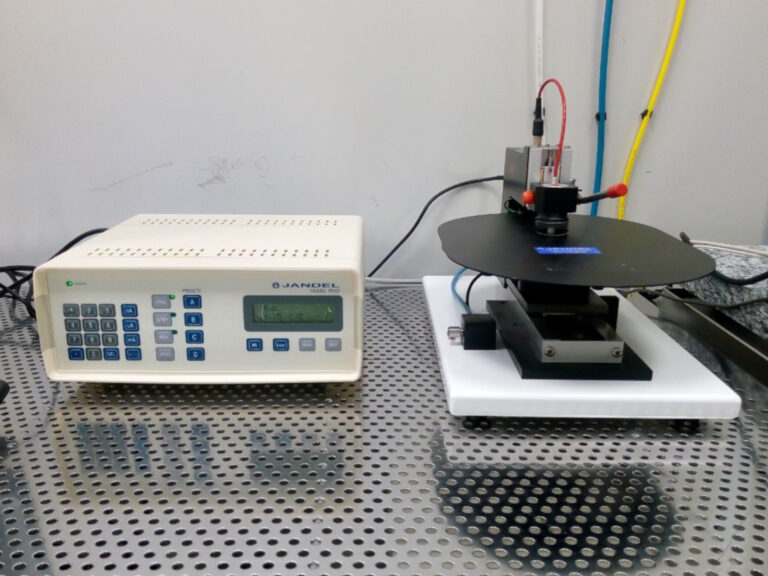
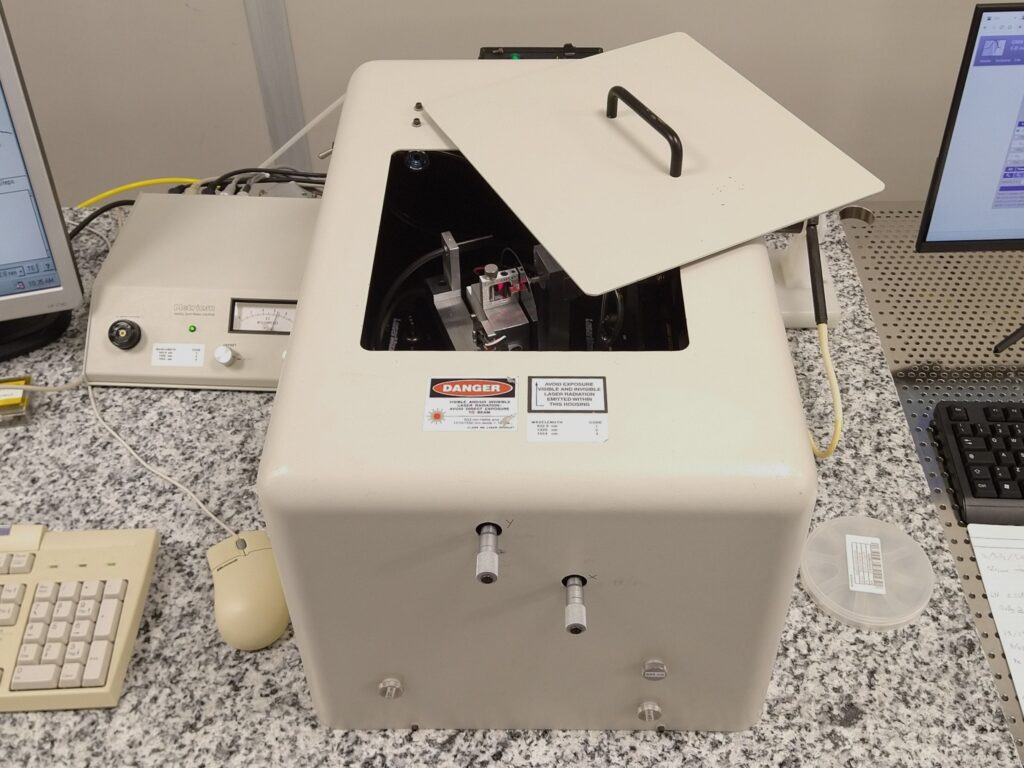
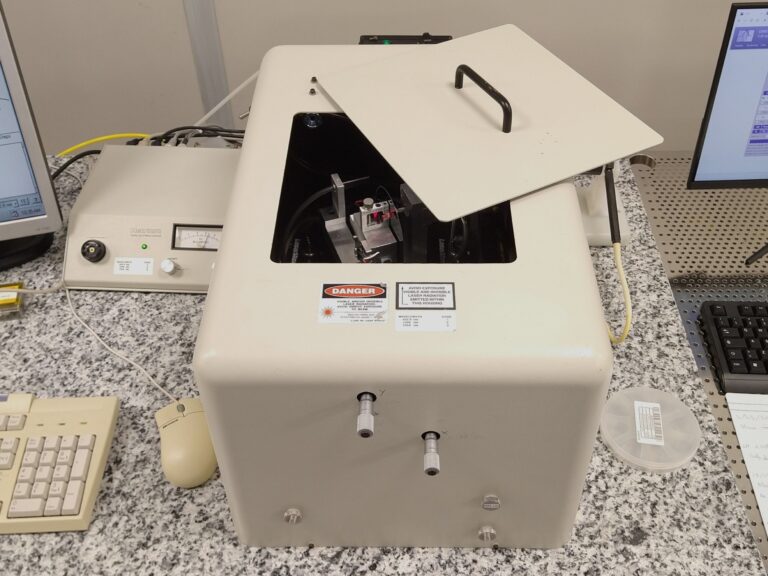
The Metricon Prism Coupler 2010 allows wafer measurements of refractive index and thickness of thin films layer stack. It allows high accuracy measurements of many materials and substrates. This unit also allows for dual film measurements, localization of modes in waveguides and index of refraction measurements for bulk and substrate materials; films and bulk materials with refractive index 2.45 and below are measurable. The Metricon located in the Metrology section has three operating wavelength (632.8 nm, 1320nm and 1554nm).
Working principle
The sample to be measured (Fig. 1, below) is brought into contact with the base of a prism by means of a pneumatically-operated coupling head, creating a small air gap between the film and the prism. A laser beam strikes the base of the prism and is normally totally reflected at the prism base onto a photodetector. At certain discrete values of the incident angle Θ, called mode angles, photons can tunnel across the air gap into the film and enter into a guided optical propagation mode, causing a sharp drop in the intensity of light reaching the detector. To a rough approximation, the angular location of the first mode (dip) determines film index, while the angular difference between the modes determines the thickness, allowing thickness and index to be measured completely independently.
![]()
Measurements are made using a computer-driven rotary table which varies the incident angle, and locates each of the film propagation modes automatically. As soon as two of the mode angles are found, film thickness and index can be calculated. The entire measurement process is fully automated and requires approximately twenty seconds. The number of modes supported by a film of given index increases with film thickness. For most film/substrate combinations, a thickness of 100-200 nm is required to support the first mode, while films in the one-micron range can support as many as four or five modes. If the film is thick enough to support two or more propagation modes (typically 300- 500 nm), the Model 2010/M calculates thickness and index for each pair of modes, and displays the average and standard deviation of these multiple estimates. The standard deviation calculation, unique to the prism coupling technique, is an indication of measurement self-consistency and a powerful means of confirming the validity of the measurement. Measurements of thickness and index can be made on most samples with thickness up to 10-15 microns. For thickness above 15 microns, index is still measurable using the bulk measurement technique (see below) although thickness and index for many samples is often measurable at thicknesses up to 150-200 microns. A detailed description of the working principle can be found in: R. Ulrich and R. Torge, “Measurement of Thin Film Parameters with a Prism Coupler,” Appl. Opt. 12, 2901-2908 (1973) http://www.opticsinfobase.org/ao/abstract.cfm?URI=ao-12-12-2901
Specifications
Index Accuracy: ±.001 (worst case). Absolute index accuracy is limited primarily by uncertainties in determining the angle and refractive index of the measuring prism. For samples of reasonable optical quality, if a high resolution table is used and if the user is willing to perform a simple calibration procedure with each prism, absolute index accuracy of ±.0001-.0002 can be achieved. NIST, fused silica, and other standards are available for index calibration. Index resolution: ±.0003 (worst case). For samples of reasonable optical quality, index resolution can be improved up to ±.00005 by use of a high resolution rotary table. Thickness accuracy: ±(0.5% + 5 nm) Thickness resolution: ±0.3% Operating wavelength: The Metricon located in the Metrology section has three operating wavelength (632.8 nm, 1320nm and 1554nm); the one located in thin film deposition has two operating wavelength (632.8 nm and 1536nm). Typical measurement time: 10-25 seconds with standard table, 15-75 seconds with high resolution table. Measurement area: While the film and measuring prism are in contact over an area roughly 8 mm square, film area actually measured is only 1 mm diameter. Refractive index measuring range: films and bulk materials with refractive index 2.45 and below are measurable. Film types/thickness ranges measurable: The Model 2010/M can measure virtually any film type which is not metallic or very highly absorbing at the operating wavelength. In many cases, thickness and index of one or both films of dual film layers are measurable*, provided the top film has higher refractive index. Thickness must exceed a minimum threshold which depends on film and substrate (or underlying film) index. Examples of thickness ranges measurable for common single or upper film types at the standard (633 nm) operating wavelength (for other film types, interpolate between example films with closest index):
| Film Type/Index | Thickness and Index ** | Thickness only (assume index) |
|---|---|---|
| Silicon dioxide (n=1.46) over Si | 0.48-15 µm | 0.20-0.48 µm |
| Photoresist (n=1.63) over Si | 0.42-15 µm | 0.18-0.42 µm |
| Photoresist (n=1.63) over Silicon dioxide* | 0.70-15 µm | 0.30-0.70 µm |
| Polyimide (n=1.72) over Si | 0.38-15 µm | 0.15-0.38 µm |
| Polyimide (n=1.72) over Silicon dioxide* | 0.50-15 µm | 0.16-0.50 µm |
| Si oxynitride (n=1.80) over Si | 0.35-15 µm | 0.14-0.35 µm |
| Si oxynitride (n=1.80) over Silicon dioxide* | 0.45-15 µm | 0.13-0.45 µm |
| Si nitride (n=2) over Si | 0.32-15 µm | 0.12-0.32 µm |
| Si nitride (n=2) over Silicon dioxide* | 0.30-15 µm | 0.15-0.30 µm |
*High-index films over substrates or underlying films of lower index other than silicon dioxide are sometimes measurable at thicknesses up to half as thin as the above limits. **Maximum thickness for which simultaneous thickness/index measurement is possible is approximately 15µm for all film types. However, using bulk index measurement, accurate index-only measurements of films thicker than 5-7µm may be made, and, with VAMFO option, thickness-only measurements may be made on films as thick as 200µm.

